
Building care
Water Tank Cleaning and Disinfection: The Step-by-Step Process
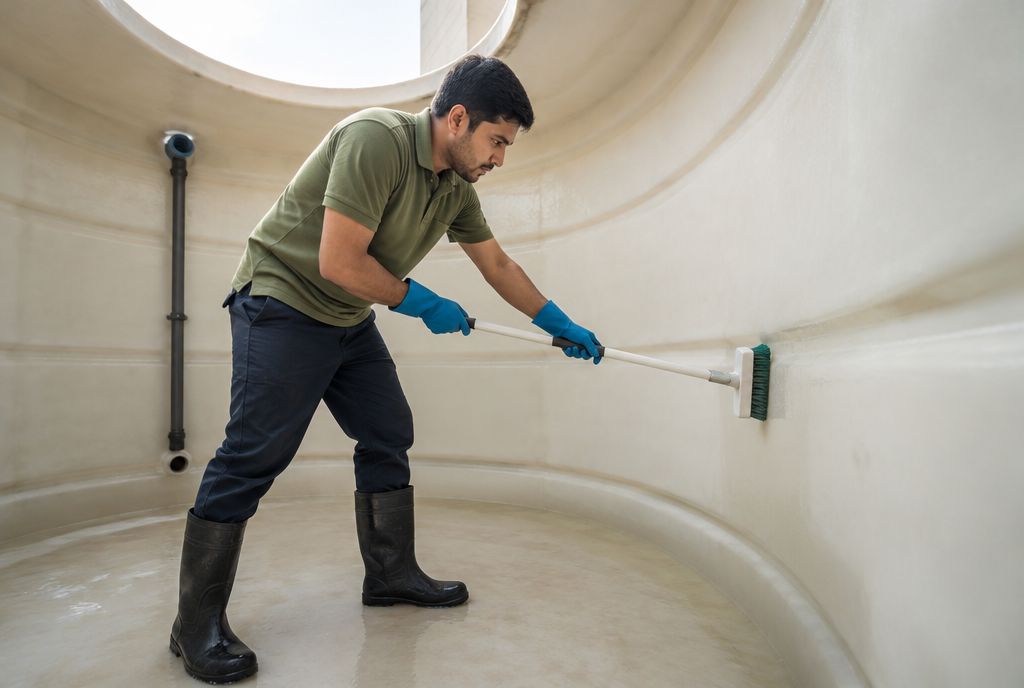
Water tank cleaning and disinfection is a two-part job: first the tank is drained and physically cleaned to remove sediment and biofilm, then the clean surfaces are disinfected and rinsed before the tank is refilled. Skipping either half doesn't work. Disinfectant can't reach surfaces still coated in sludge, and scrubbing alone leaves microorganisms behind. Here's how a thorough process works, step by step, so you know what to expect and what to ask.
Water tank cleaning and disinfection: before the work starts
A well-run tank clean begins before anyone opens the lid.
Assessment
The team should check how many tanks there are, their size, material and location, and how they're connected to pumps and pipework. Roof tanks, ground tanks and underground tanks each need a different approach to access and draining.
Planning the shutdown
While a tank is being cleaned, the property has limited or no stored water. Good planning keeps that window short. In a villa, that may mean filling a few containers for drinking and cooking. In a building, residents should get notice of the date and time. Many owners use the evening before to run the tank lower, so there's less water to drain.
Safety set-up
Tanks are confined spaces. Before entry, the team should ventilate the tank, isolate pumps and electrics, and set up safe access, especially for roof tanks where there's also the risk of working at height. This is the main reason tank cleaning isn't a DIY job.
The cleaning stage, step by step
- Isolate the supply. The inlet valve is closed and any pumps are switched off so the tank doesn't refill during cleaning.
- Drain the tank. Remaining water is pumped or drained out, usually through the drain valve or with a submersible pump.
- Remove sediment and sludge. The settled layer on the tank floor, often sand, silt and rust particles, is removed, typically with a wet vacuum or by hand.
- Scrub the internal surfaces. Walls, floor, the underside of the lid and fittings are scrubbed to remove biofilm, slime and stains. Brushes or pads are chosen to suit the tank material, so plastic and lined tanks aren't damaged.
- Rinse. Loosened dirt is rinsed down and removed so the surfaces are physically clean before disinfection.
The disinfection stage
Once the tank is clean, it can be disinfected effectively.
- Apply a suitable disinfectant. The product should be one intended for drinking-water storage, used at the correct strength and for the contact time specified by its manufacturer. Products are never mixed.
- Allow contact time. The disinfectant needs time on the surfaces to work. Rushing this stage reduces its effect.
- Rinse thoroughly. The tank is rinsed and drained again so no disinfectant residue is left behind.
- Flush the outlet pipes where needed, so the first water to the taps isn't stale water sitting in the pipework.
Ask what's being used. You're entitled to know which disinfectant goes into your tank and how it's rinsed out. A good provider will explain this without hesitation.
Inspection and refill
An empty, clean tank is the best chance to spot problems. A thorough service checks:
- cracks, leaks and damaged linings
- rust on steel tanks, ladders and brackets
- the condition of the lid, its seal and lock
- vents and overflow pipes, and whether they're screened against insects
- float valves, inlets and outlets
Any problem should be reported to you with photos, so you can decide on repairs. Then the inlet is reopened, the tank refills, pumps are restarted and the taps are run until the water flows clear.
After the clean: what to look for
The first water through the taps after a tank clean may be slightly cloudy from air bubbles or loosened particles in the pipes. Run the taps for a few minutes. It should then look and smell normal.
If the water looks, smells or tastes wrong after that, stop drinking it and get it checked. Contact the cleaning provider and your building management, and use bottled water until the issue is resolved.
Clean water in the tank is only part of a healthy home. Regular house cleaning keeps taps, sinks and shower heads free of the limescale and grime that build up at the point of use.
Keeping the tank clean between services
- Keep the lid closed, sealed and locked.
- Make sure vents and overflows have intact insect screens.
- Shade roof tanks where possible to reduce heat build-up.
- Keep the area around ground tanks clean, dry and clear.
- Watch for changes in water colour, smell or taste and act early.
How often the full process should be repeated depends on the tank and the property, and buildings or authorities may have their own requirements. Our guide on how often water tanks should be cleaned explains the factors, and you should check with your building management or the relevant authority for anything that applies to your property.
What affects the price of water tank cleaning services
Each job is quoted for the property. The price depends on:
- the number, size and type of tanks
- access: roof, ground or underground, and how easy it is to reach
- how much sediment and build-up there is
- any additional work identified during inspection
Tip Top offers water tank cleaning among our services. We confirm the price after a free on-site or photo-based assessment, before any work starts. For an overview aimed at villa and building owners, read water tank cleaning in Sharjah, and if you're thinking about the rest of the home, see when home disinfection is worth booking.